Tuesday 23 August 2016

be Joyful……..mixed media canvas

Hello and welcome. I hope you are having a great start to the week. I always love it when I can manage a little time playing in the studio and today offered me the opportunity. YAY!!!!
I recently purchased a couple of canvases at my local pound land store. Nice size 8x10 canvases for £1.00 was too good to pass up. I decided it was time to give mixed media a try after all my research. Yes research is what I call all the hours of watching videos on Youtube:-)
So here is what I came up with and I will explain in more detail how I achieved it later in the post…


 So I started with adding gesso around the edges of the canvas. Allowed it to dry then began adhering the various papers with mat gel. Once that was dried I added a little gesso here and there to tone down some of the images. I then came on with a few stamps to give more texture to the background. I added a few dies cuts before finishing with burlap, butterfly and flower. Perhaps if I am feeling ambitious I will make a technique video to show the whole process!!! Until then I hope you have enjoyed my project.

Please come again!

Wednesday 17 August 2016

Pion Shabby Chic Tags

Hi Stampers & Crafters. Welcome to my happy place. I have had little time lately to create anything. All work and no crafting has made me a very cranky lady lol. I did manage to find a little time the past weekend and here is the end result.


 Papers used are the gorgeous Pion "My Precious Daughter" Collection. I could not resist these fabulous purple papers! Love love love!!

The flowers are all handmade using coordinating papers .


 I hope you have enjoyed todays project.Please leave me a comment below! Hope to see you again soon!

Wednesday 15 June 2016

My first flip book........

Hello and welcome to my studio. I finally got around to making a flip book. I know I know, I am so behind the rest of the crafting world! I knew I wanted to create something shabby chic so here it is.....


I will be making a video tutorial for this album to add to youtube so please stay tuned for that! The album itself is made using card stock . The papers used are all Pion from various collections. Their papers all seem to coordinate pretty well so I just used from my scraps and a recent purchase I made from a shop going out of business. I grabbed a bargain!


Please check my youtube channel to view :

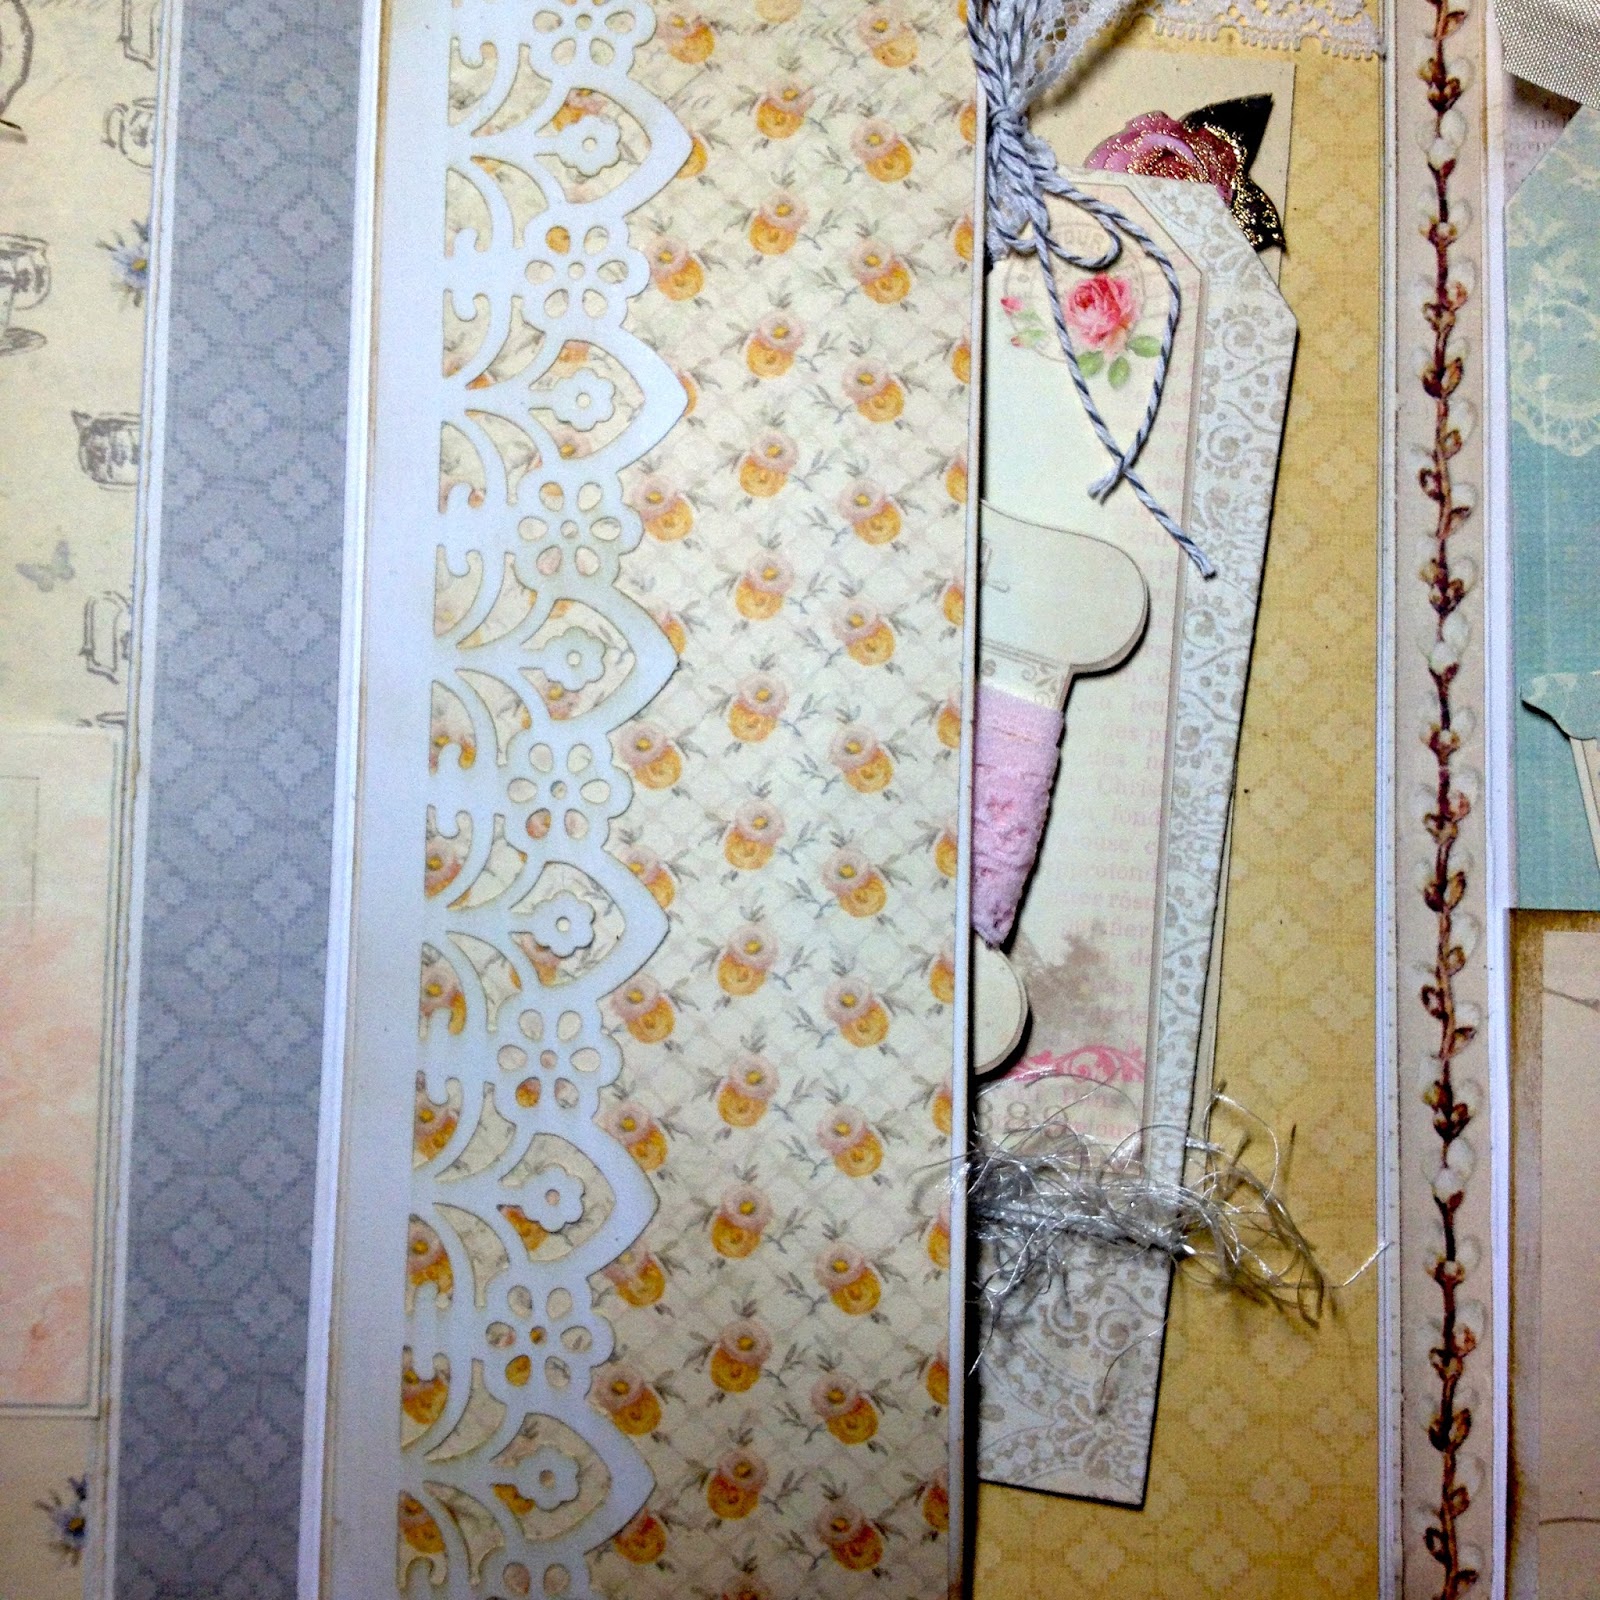
The first page includes this pocket for two tags made using the Tim Holtz tag dies. In fact, all the tags in this album I made using this die. 


Lots of vintage lace and seam binding ribbons added. I love to collect vintage lace and am always looking at my local car boots ( yard sales) and thrift stores.


This tag I used on the front is my favourite of the book. If you follow me you know I am trying to master creating my own flowers. I used the pion papers and tattered angel glimmer mist to make this shabby rose which sits beautifully in the metal flower I recently bought from a not so local scrapbook store. I just love how it came out!


 This page I made two little pockets for these small tags.


The first time I have used this stamp recently purchased. Love it! The little pencil is adorable!


The centre of the album is a gusseted pocket to hold a couple of tags and some vintage lace for the recipient.


This tag offers a pocket to hold a nice tea sachet for my friend to enjoy while looking through.


I created a little book to write a little about myself for my new flip book pal.


                                             And this is the back cover. Love these papers!


 I am super excited to make more of these books. I find them much less intimidating that mini albums. Even so, I had to work up the courage to attempt my first one. I hope you have enjoyed stopping by today. Please leave comments below as I love to hear from all my visitors! Have a great week!

Shabby Envelope with Pockets

Hi Stampers ! I hope you are having a great start to the summer. Most of us struggle to find time for crafting in the summertime or at least I do! I always feel guilty staying in my space when the weather is dry & sunny. We get so few of those days here!Because it's been raining for a couple of days now I have had a little more time to create. I have two projects to share today and so there will be two posts, so check them out. 

My first project is this shabby envelope with pockets and card insert. You can find the directions on youtube if you'd like to give this a try. I have an abundance of 12 x12 papers so I am always on the lookout for new and creative ideas to use my stash. I just love this idea which turns an envelope into something special to give to friends and family. The back has two pockets which I intend to add a tea packet and homemade cookie to. 


I made this flower using my Stampin Up pansy punch...love how it turned out! I am on a mission to master homemade flowers so I've been trying to find more time to practice practice practice !


 I will be making many more of these to have on hand. Just a nice way to wish someone Happy Birthday or whatever the occasion may be!

I would love to hear from you and appreciate all the comments left by my visitors. Have a wonderful summer and drop by again soon!

Thursday 19 May 2016

a Shabby Sympathy….

Hi Stampers! I am sorry for the long absence. Our business has kept me super busy lately with re doing our showroom and many markets! I have missed my craft studio and so glad to find a few minutes for myself.

 I've recently purchased a few new stamps and wanted to try them out. Today's post incorporates them along with some old Pion papers I've had in my stash just waiting to be used.


The flower was created using the Stampin Up Pansy punch. I added some crinkled seam binding ribbon, linen thread and felt that was enough embellishment for the occasion.


I'd love to hear from you so please leave me a comment below! Enjoy the rest of your week:-)

Saturday 2 April 2016

Heartfelt Hello…..

Hi Stampers! I hope you are having a creative relaxing saturday. I've been waiting all week to make it back into the studio. Once today finally arrived I just went blank! Wandering around aimlessly trying to figure out what to create today. Do you ever experience this? When all the ideas you've gathered in your head all week long just leave you completely overwhelmed when you finally find the time to actually do some crafting! How frustrating!!!


So off to youtube I went and I found the Creativity Cave's latest video found here. Once I had composed myself ( Dena cracks me up!) I used her gorgeous card as my inspiration for this card…..


 Colours used are : Not quite Navy, Bermuda Bay & Pool Party.


Well I am off to start another project so please come back to see what's happening in the Firefly Studio. Thank you for stopping by. Have a great weekend!

Wednesday 16 March 2016

A Nice Cuppa......

Hi Stampers! I hope you are making it through what feels a very long week for me. I am anxious for the weekend and more time for stamping and creating.

 I have managed a little time this morning to finally play with the new "A Nice Cuppa" stamp set by Stampin Up! I thought this set would make some really cute gifts for later in the year. Unfortunately for now I only had time for a card.


I love the vintage look of this card and hope to create a few more in the next week. I hope you have enjoyed having a look and will return. Have a great week. Cya soon!

Tuesday 15 March 2016

Vintage Thank You……..

Hi Stampers and welcome to my little craft space. Today I found time to create a vintage background. I've been wanting to play with my stamps to make some interesting backgrounds. Take a quick look and then I will explain items used to achieve this look.


 To begin I have used the following Stampin Up stamp sets : Timeless Textures, Butterfly Basics and First Sight. Inks used include: Crumb Cake, Blackberry Bliss and Hello Honey.  Card stock is Crumb Cake , Very Vanilla and Blackberry Bliss.


I hope you have enjoyed today's project and are inspired to give it a try yourself! Thank you for stopping by and please visit me again!

Wednesday 2 March 2016

Sparkle Birthday Girl!

Hi Stampers !!! I hope you are making it through the week ok. It's very cold, rainy and windy here. The upside……more reason to stay indoors and create.

 Today I wanted to use the Botanical Blooms stamp set along with a paper trey die I recently purchased while visiting back home. The thing I love about this new blooms stamp set is your really don't need to create a background or use designer papers. The flowers are enough on their own. Which leaves more time to experiment ! Oh I have inky fingers after todays project. Have a look………


I scored 1/2" inside the front panel to create a frame ( I usually always forget this technique!). Vellum works beautifully with the fern die from this set to add the finishing touch .


I hope you have enjoyed stopping by. Please leave your comments as I would love to hear from you. Cya soon!!

Tuesday 1 March 2016

Beautiful Butterflies Friendship Card

Hi Stampers! I am back after a very long break……not planned I might add but sometimes life has other plans.

 So on to today's projects using some of my new products recently purchased. This is my first time using the beautiful butterfly embossing folder by Stampin Up. I am in love!!! I have inked the embossing folder up in Blushing Bride to create the background.


I had to try reversing the pattern and omg I love it even more!!!


Apologies for the photos. I recently lost iPhoto and am struggling to find another editing software I can handle as I extremely technically challenged! 

I do hope you have enjoyed dropping in and will come again . Have a great week!